Now that we have all the LED ready to mount in the cone. Lets
see one way to do this. Believe me, there is no right or wrong
way. Just what ever works for you.
Click on any image for a closer
look |
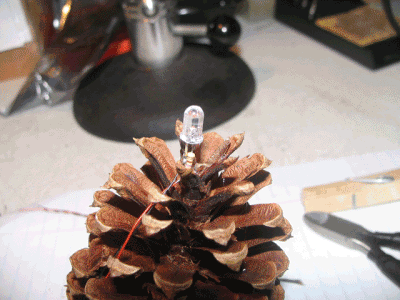 |
Lets start off by installing the
white LED at the very top of the cone. Just push the led
into the cone and don't worry about routing the wire for now.
I used a little dab of hot glue on my second cone. But just set
the LED in the first cone. It will work either way. |
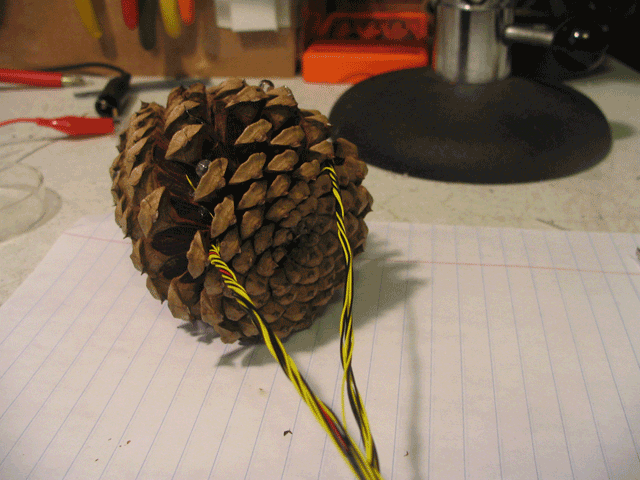
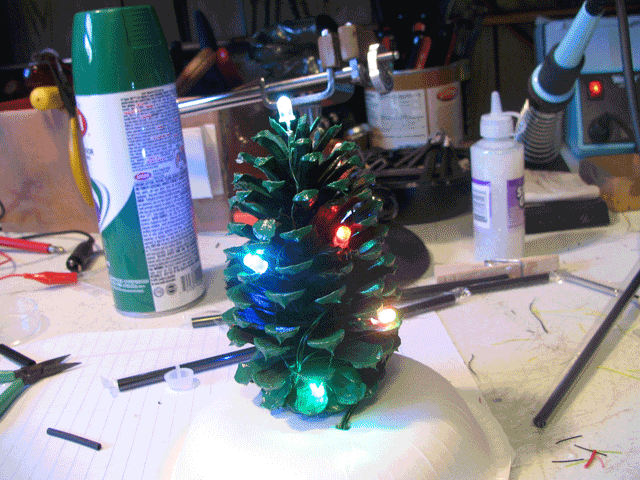
| Now's the time to
add the rest of the LEDs. Again don't worry too much about the
wire. Just get the LED placement as even as you can. If you plan
on having the cone against a wall, then you probably want to
have more LEDs in the front. I guess adding the LEDs is not much
different then dressing a real Christmas tree. |
 |
 |
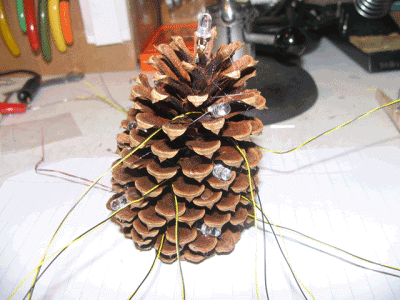
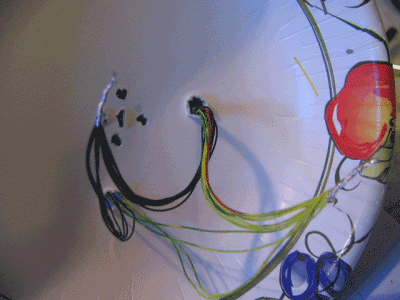
Well we put it off as long as we
could. But now that we have all the LEDs mounted. It's time to
start routing the wire. It's hard to say the best route for the
wires as each cone is different. But normally you can find a few
routes that allow you to tuck the wires out of sight and deep in
the cone. |
| In this example I
routed the wires down two paths. The actual number doesn't
really matter. |
 |
 |
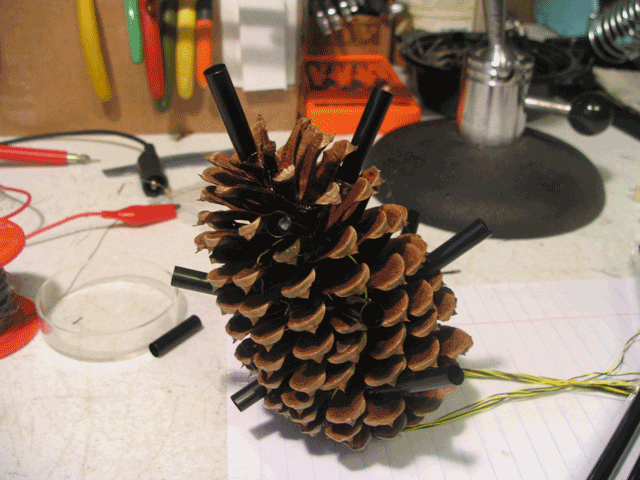
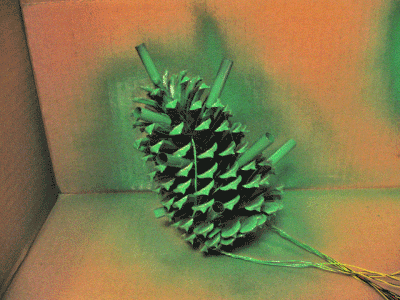
In the case of this cone. I wanted
to paint it green. So I covered the LEDs with pieces of a soda
straw. I cut them to be about 2 inches long and just slipped
them over the LEDs to keep the LEDs from getting painted. |
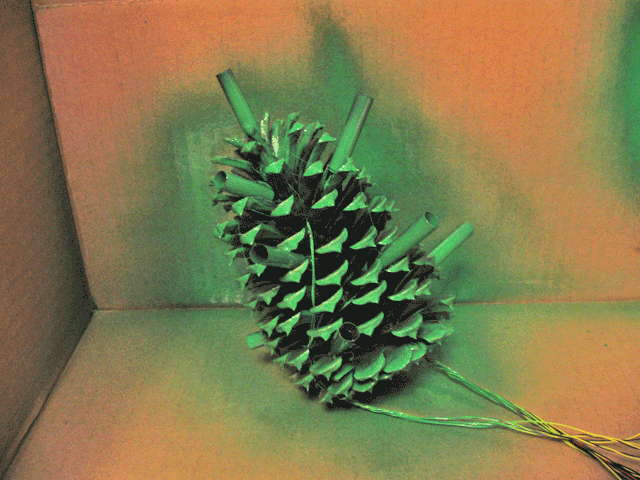
| I set up a card
board box and painted away. I used some cheap Wal-Mart spray
paint that was less then 2 bucks a can and dries in 10 min's.
It worked great. |
 |
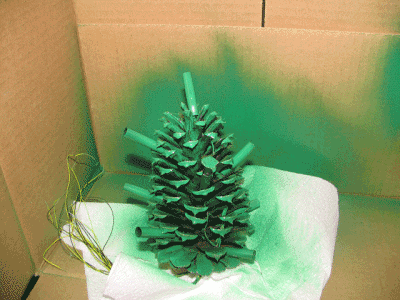 |
Because it dries quickly, let it
set for a little bit and then stand the cone up and paint it
from the top down. Pay special attention to try and cover the
route you ran the wires down the side. As soon as you can,
remove the straws so the paint doesn't hold the straws to the
LEDs. |
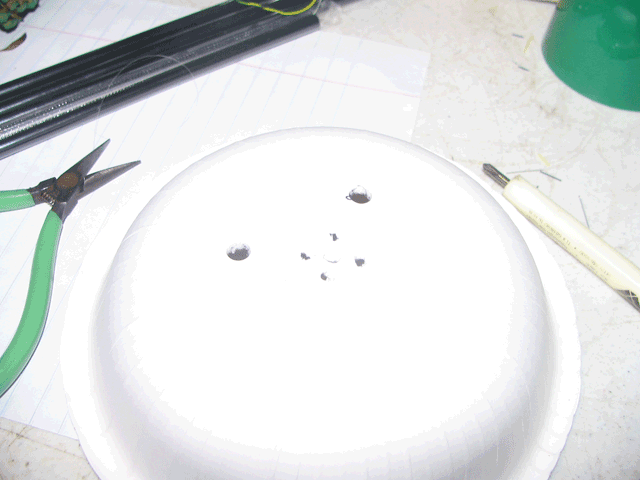
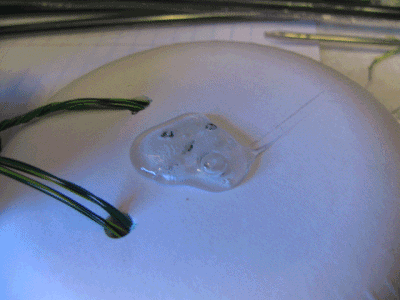
| While the paint
finishes drying. Lets make up the mount. I poked a few
holes in the middle so I could use hot glue to hold the cone to
the mount. Hot glue makes a lot of sense as the bottom of the
cones are hardly ever flat. The holes allow the glue to
flow and have something to hold onto. Also make a few
holes around the outer edge to line up with where the wires will
come out. |
 |
 |
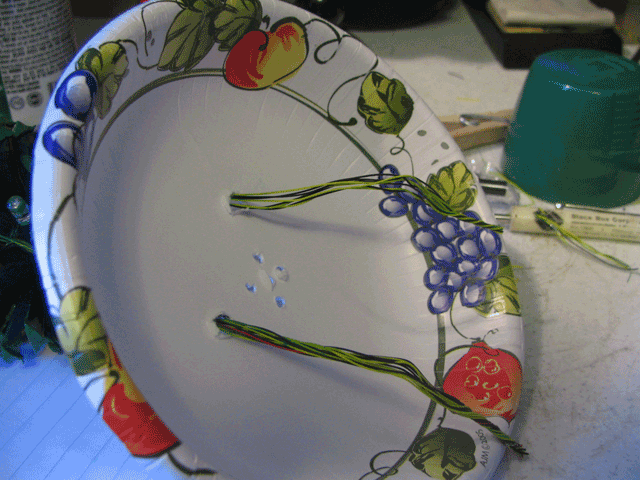
Now run the wires through the
holes and get it all lined up. |
| Now add a glob of
hot glue and squish it all together. |
 |
 |
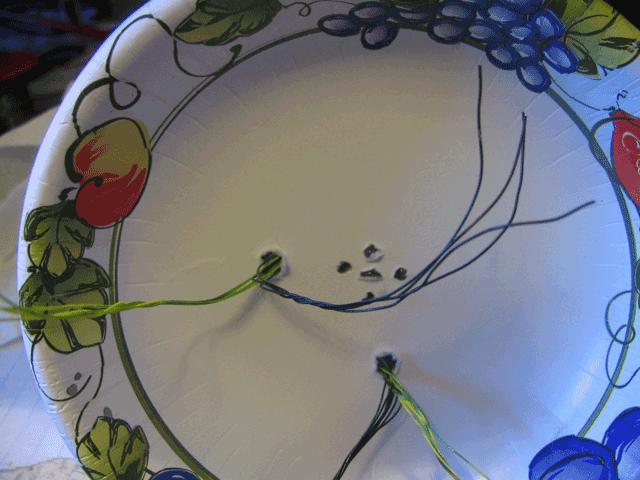
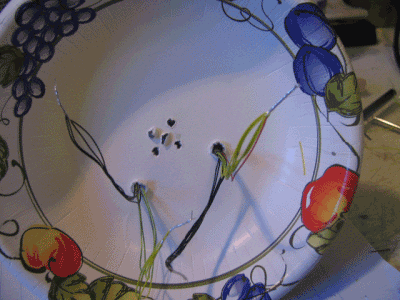
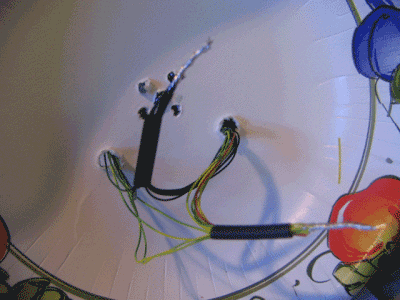
Now we need to get
the wiring ready to go. The first thing to do is separate
all the yellows from the blacks. Also the red from the center
white LED is added to the yellows |
| When you're done,
it's time to strip off about a inch or so of wire so all the
wires of the same color can be twisted together. Cut the wires
so they are all about the same length. |
 |
 |
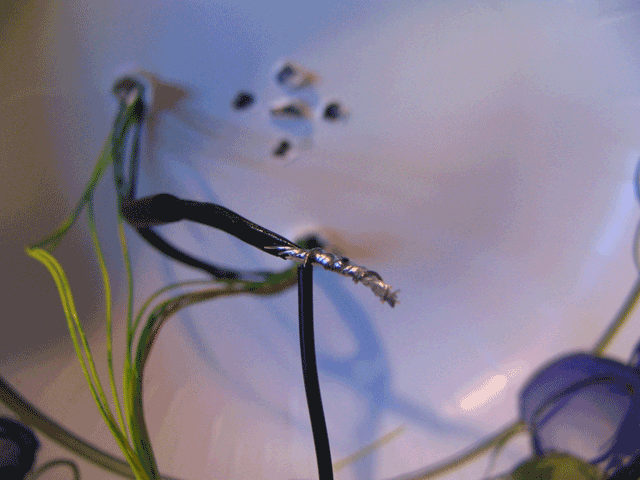
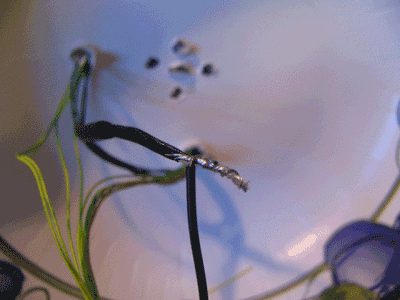
Now take all the yellows and make
sure all the bare ends are twisted together. Do the same with
the blacks. The end results should be two bundles of
stripped wire. One all yellow with one red. and the other all
black. |
| Cut the provided
piece of heat shrinkable cable in half. Slip a piece over each
of the two bundles. Make sure you push it back away far enough
from the bare wire, so the heat from the soldering iron won't
melt it. |
 |
 |
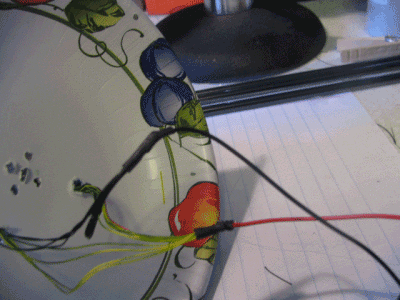
Now we solder the black wire from
the provided battery connector to the black wire bundle. You
don't need much solder and try to make it as smooth as you can
so the heat shrink will slide over the bare wires. |
Do the same with the
red wire from the battery. It should be soldered to the bundle
of yellow wires. Now slide up the heat shrink to cover the
bare wires. Heat the shrink tubing with a match.
If for some reason your solder connection is too big
you can always use electrical tape to insulate the connections. |
 |
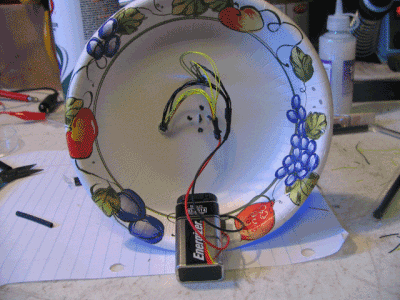 |
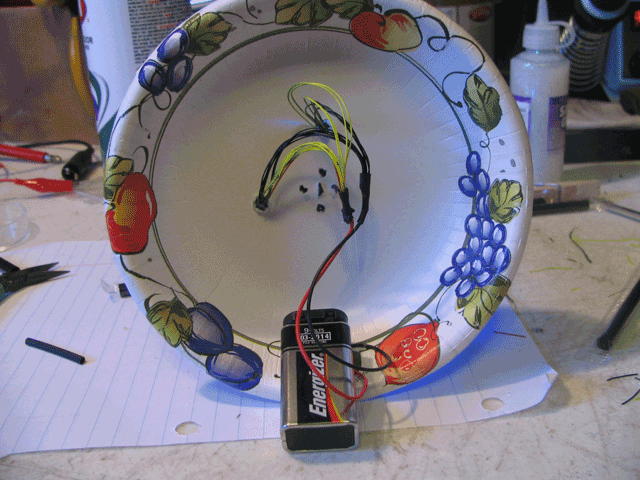
Now all we have left is connect
the battery. |
With any luck, all
the LED's will light and be blinking away.
Bask in the
glow of your accomplishment and have a GREAT CHRISTMAS |
 |