Lets start off with wiring all the LED's and resistors.
Then we will put them in the pine code and finely add paint or
other decorations. This page is devoted to soldering up
the LED's resistors and wire.
Click on any image for a closer
look |
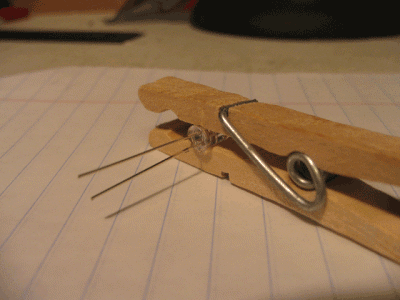 |
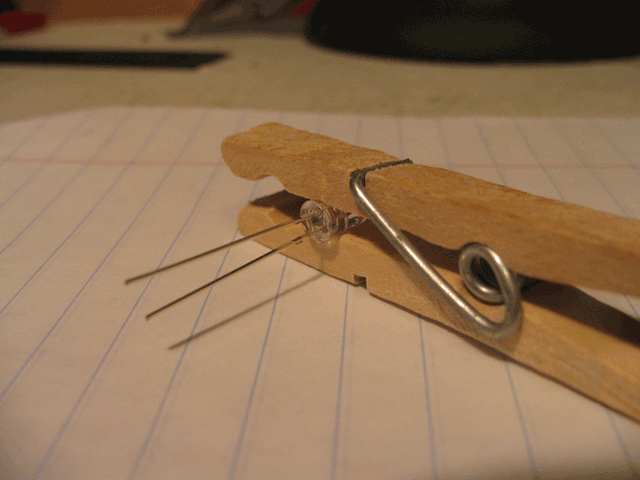
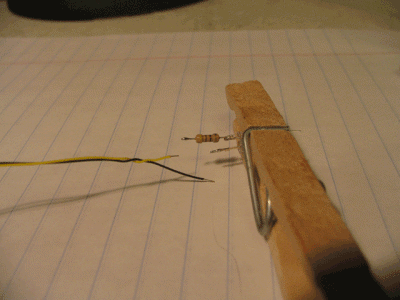
Lets start off by using the
provided clothes pin to hold the LED. This will allow you to use
both hands and still have a steady soldering target. Notice the longer lead is
towards the top. This is the Anode or the part that goes to the
positive side of the battery. |
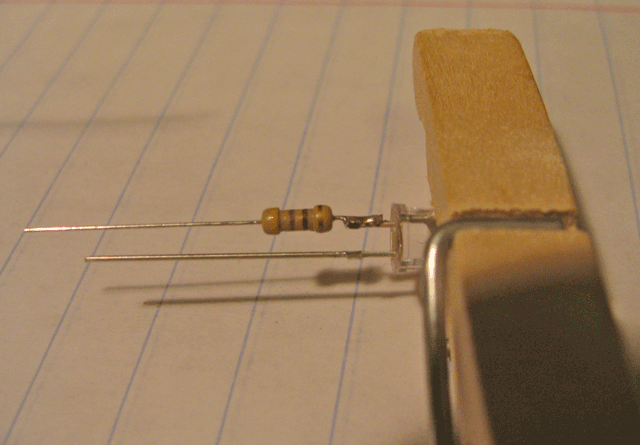
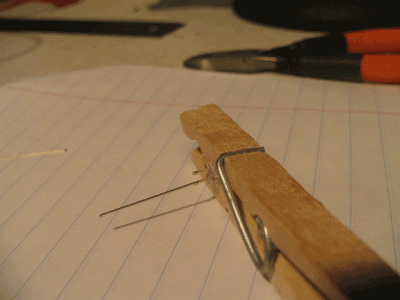
| First off we need to
cut the longer lead so we can solder the dropping resistor in
place. The LED's have a flat/compressed mark on both leads. Cut
the longer lead in the middle of this indent. |
 |
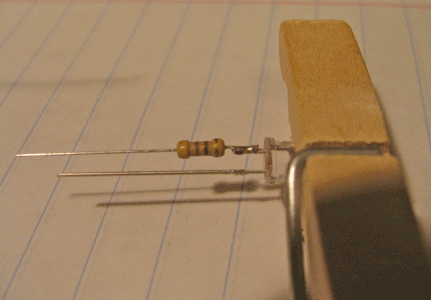 |
Now cut one end of the provided
resistor to about 1/4 inch. It should be about the same length
as what is left after you cut the lead on the LED. It
doesn't matter which end of the resistor you trim. Tin
both the cut end of the resistor and the cut lead of the LED.
Then hold the two tinned ends against and parallel to teach
other and heat the joint to allow the two to be soldered
together. |
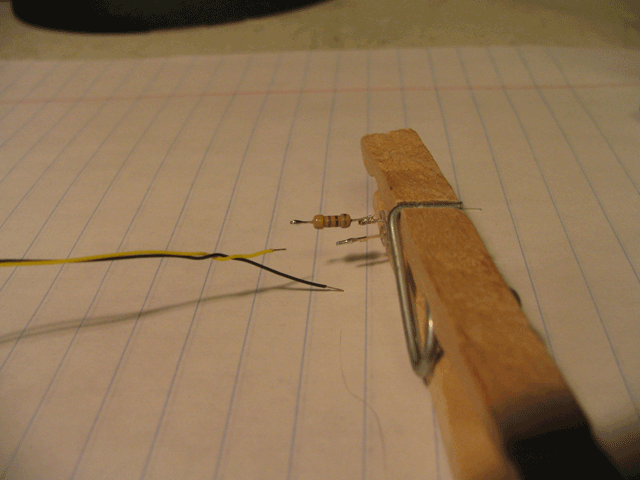
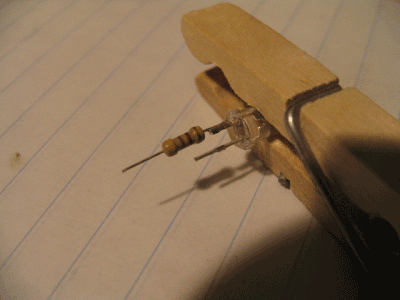
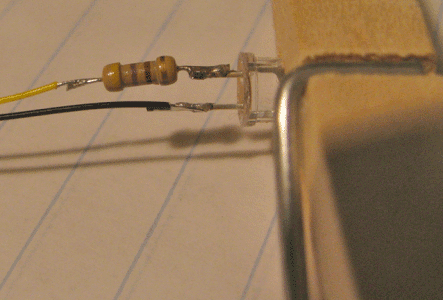
| Now that the long
anode lead has the resistor soldered inplace, cut the other lead
of the LED to be about the middle of the resistor. Also
cut the long end of the resistor to about 1/4 inch also.
Tin both to ready them for soldering. |
 |
 |
Now take a 10 inch length of both
yellow and black wire and trim a very small amount of insulation
from the ends. |
| Solder the yellow
wire to the resistor and the black to the remaining LED lead.
Both should be easily soldered by holding the wire parallel to
the tined lead and heat slightly with the iron. |
 |
 |
When you are finished it should
look something like this. Take the LED and spin it between
your fingers while holding onto the opposite end of the wire.
this will twist the wire and make it easer to route through the
pine cone. |
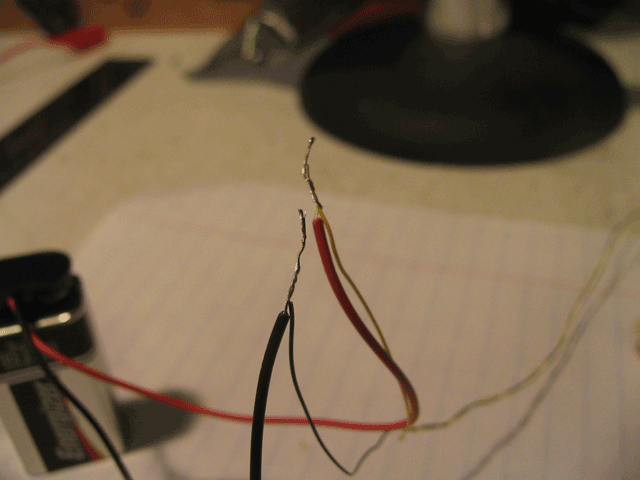
| Now is the time to
test this baby out. We'd rather find out if it works now than
after we have it routed in the cone. Plug the battery
connector onto the battery and after stripping a short amount of
insulation off the wires, temporarily twist the yellow wire to
the battery red wire. and also the black of the LED to the black
of the battery. |
 |
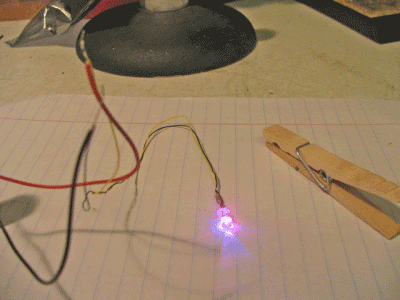 |
With a bit of luck and your
skill you should have a blinking LED. Allow this to glow
for a little while as you pull and twist the wires to make sure
your connections are sounds.
Bask in your light of your
success! |
Repeat the above 9 more times to
make up 10 LED's ready to mount. Also you have one
white LED. It's clear as the other LED's, it just glows white
and is intended for the top of the tree. It's a steady glowing
LED that is very bright. You will need to solder it the
same as you did the other 10. The only difference is the yellow
wire will be replaced with the red wire. While the color doesn't
really matter, the red will allow you to tell which wire has the
white LED on the other end. The black wire is the same as all
the rest. |