Stuff the baby in it's box!
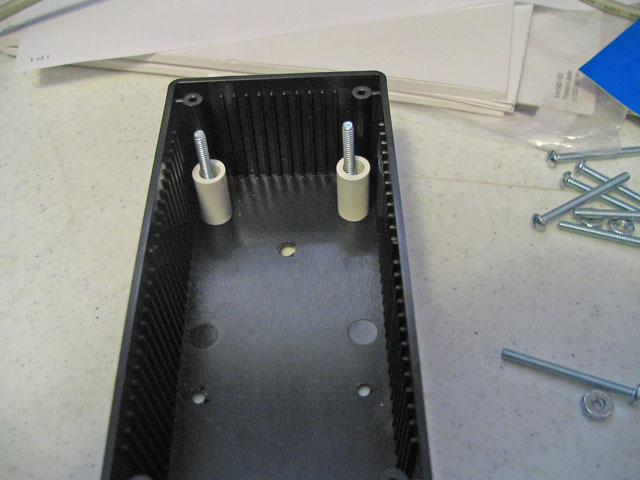
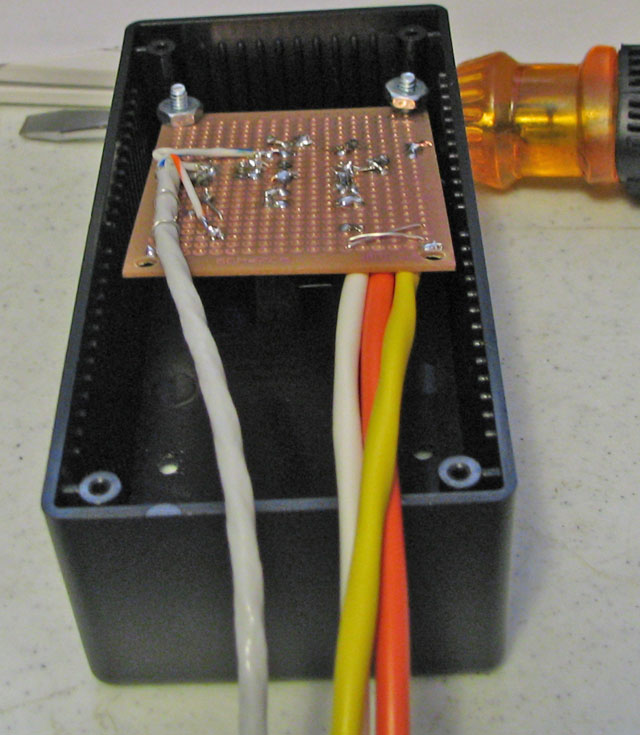
The box comes pre drilled with 4 holes for the board mounting screws. It also has a bigger hole to allow the LED to come out through the top of the box. Lastly, the bottom of the box is notched to allow the bottom plate to be installed and still allow the cables to exit. This allows the cables to be attached and not have to worry about inserting them through the box first.. It also makes disassembly for trouble shooting easier.
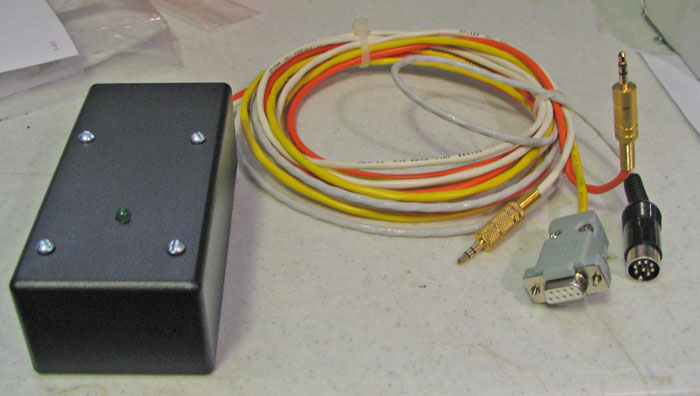
| The board is mounted with the LED facing the top. The board is held off the top with 4 white spacers. The easiest way to get the LED through the hole is to put the two top screws and spacers in place as in the pictures. | 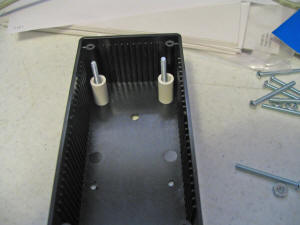 | | Mount the board on the two screws with the nuts loose so you can lift the board and use a screw driver to push the LED through its hole. It should line up well, but it's NEVER easy! |  | | Once the LED is through its hole, install the back two screws and spacers and push the board down. Now tighten the nuts and you're all done with the mounting. Install the bottom cover with the 4 provided screws. HAPPY DIGITAL MODE |  | | The Club Website will have the latest version of these directions.
Take a look at http://chestercountyarc.com/digital or contact me at joel@cyberbest.com | |